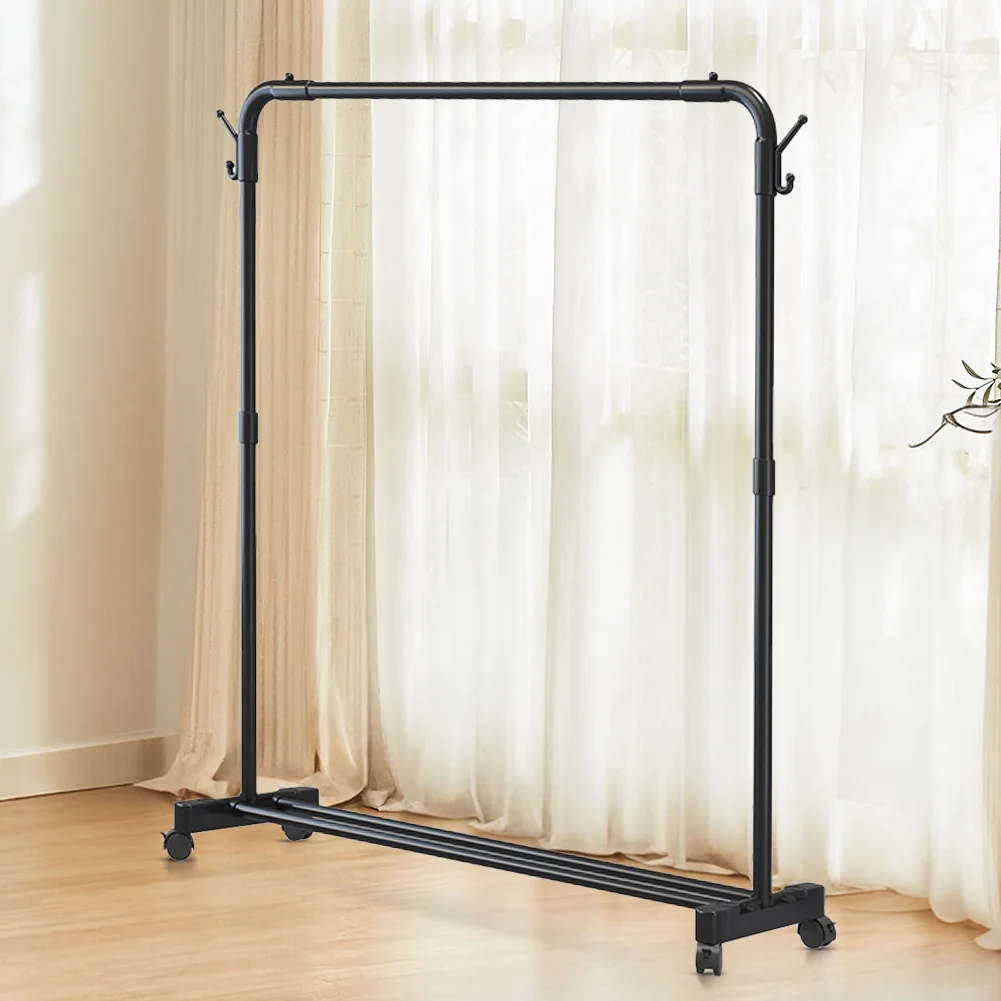
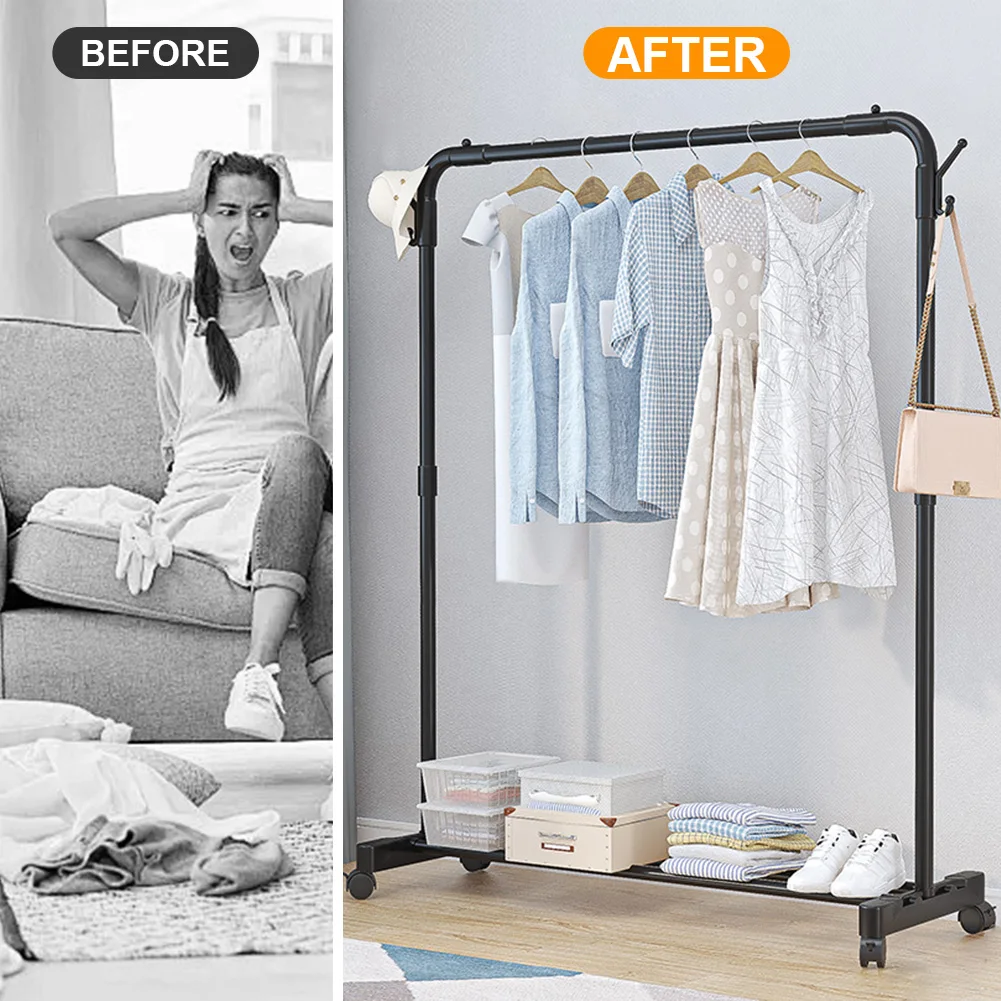
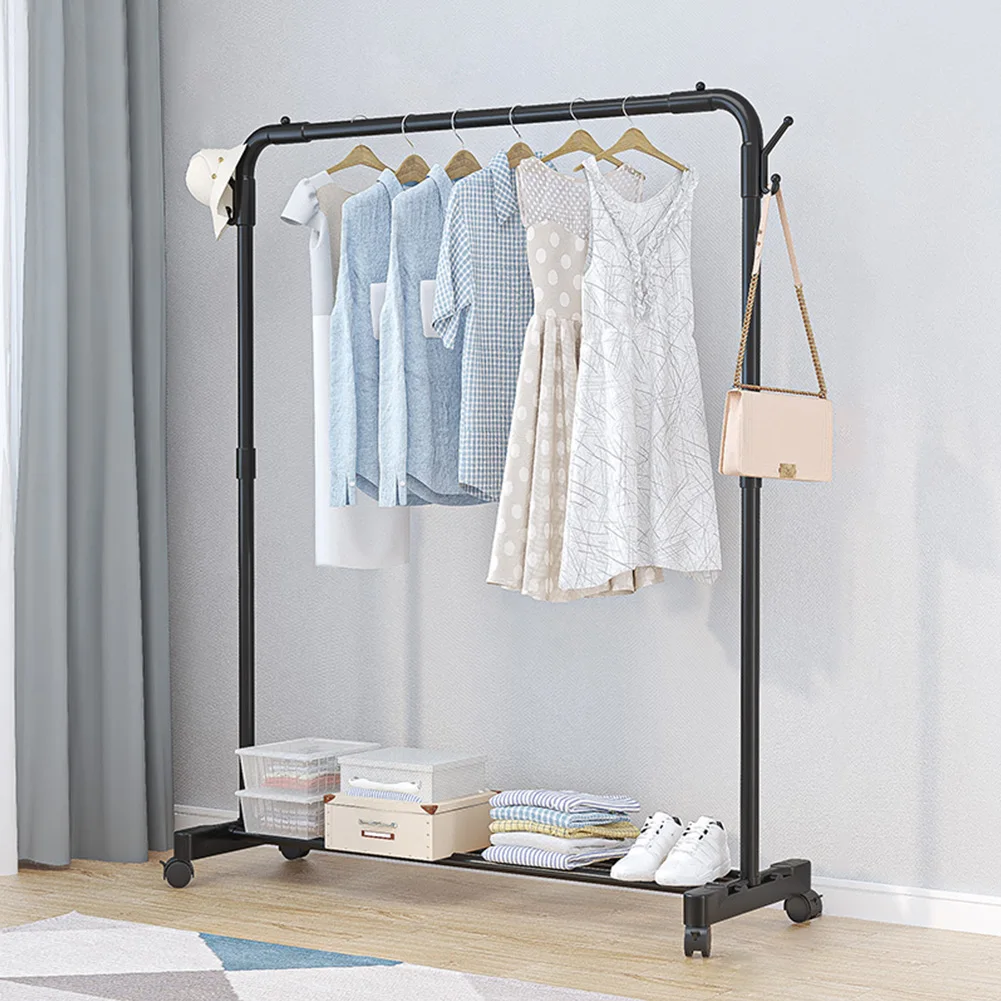
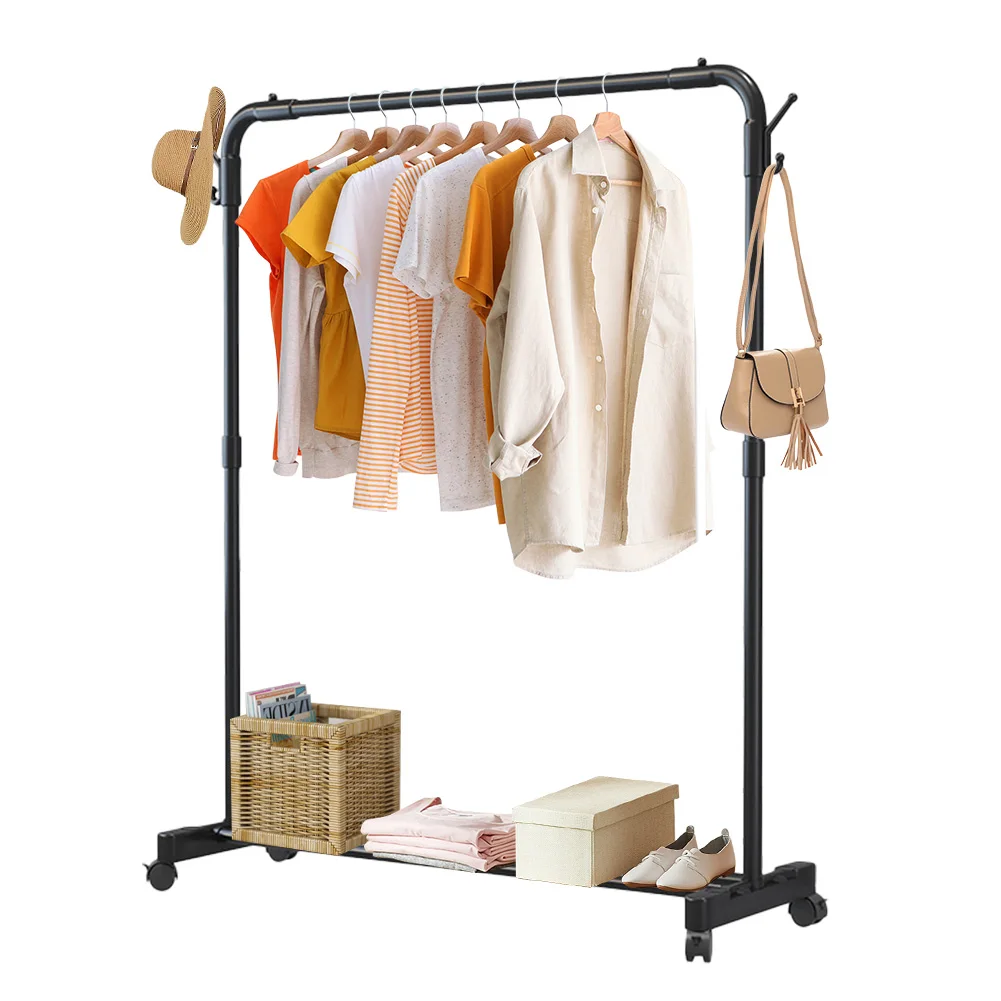
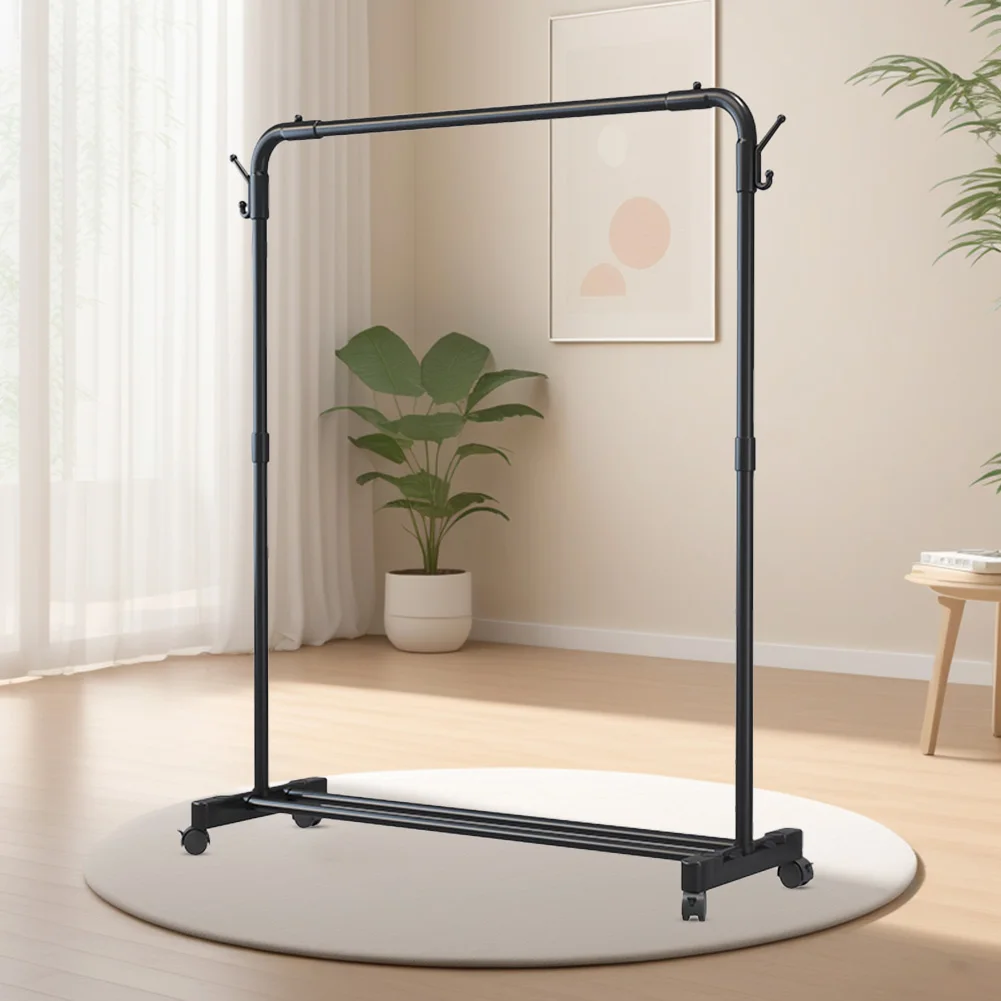
Metal Clothing Rack With Storage Shelf on Wheels Heavy Duty Clothes Rail Garment Rack Display Stand for Everyday Home Dormitory Hotel Add Closet Space
Features:
1.Premium Material: The clothing rack is crafted with high-quality PP + spray plastic + iron + carbon steel, coated with eco-friendly paint to prevent rusting. This ensures long-lasting durability and a stylish appearance in any setting.
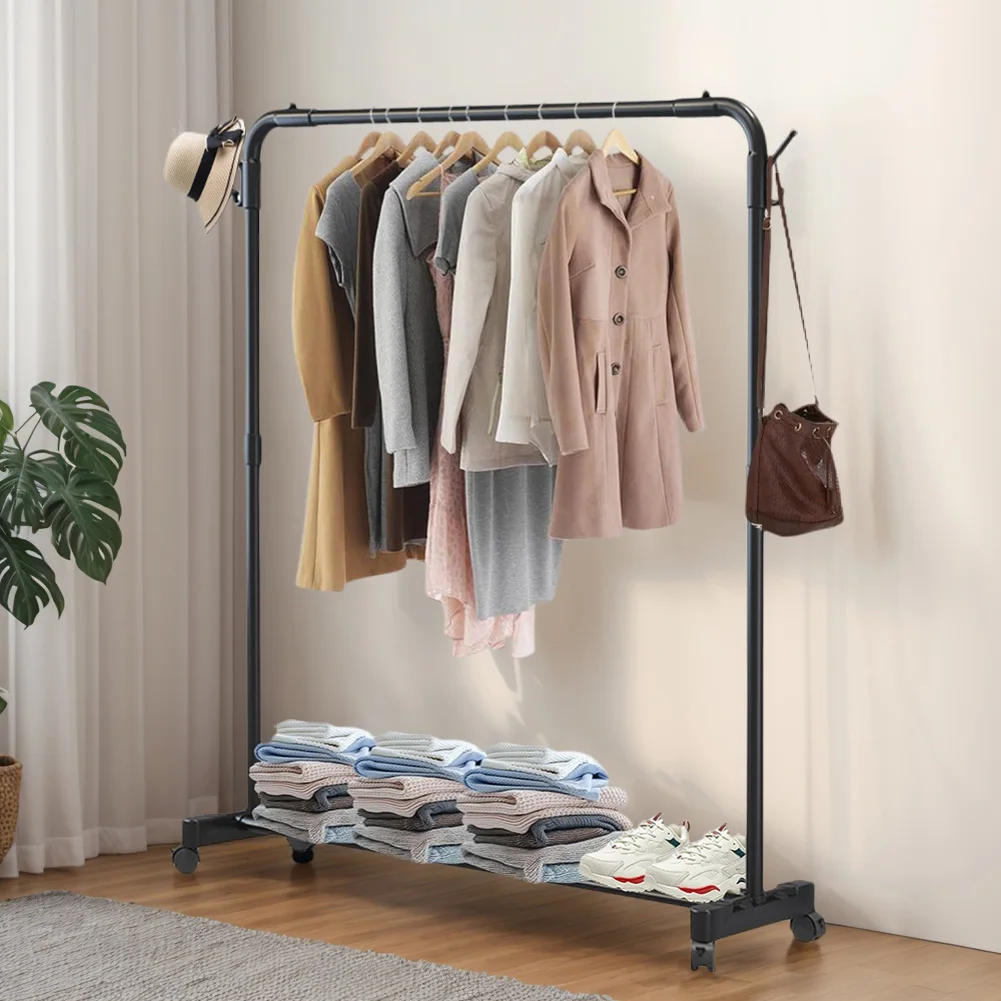
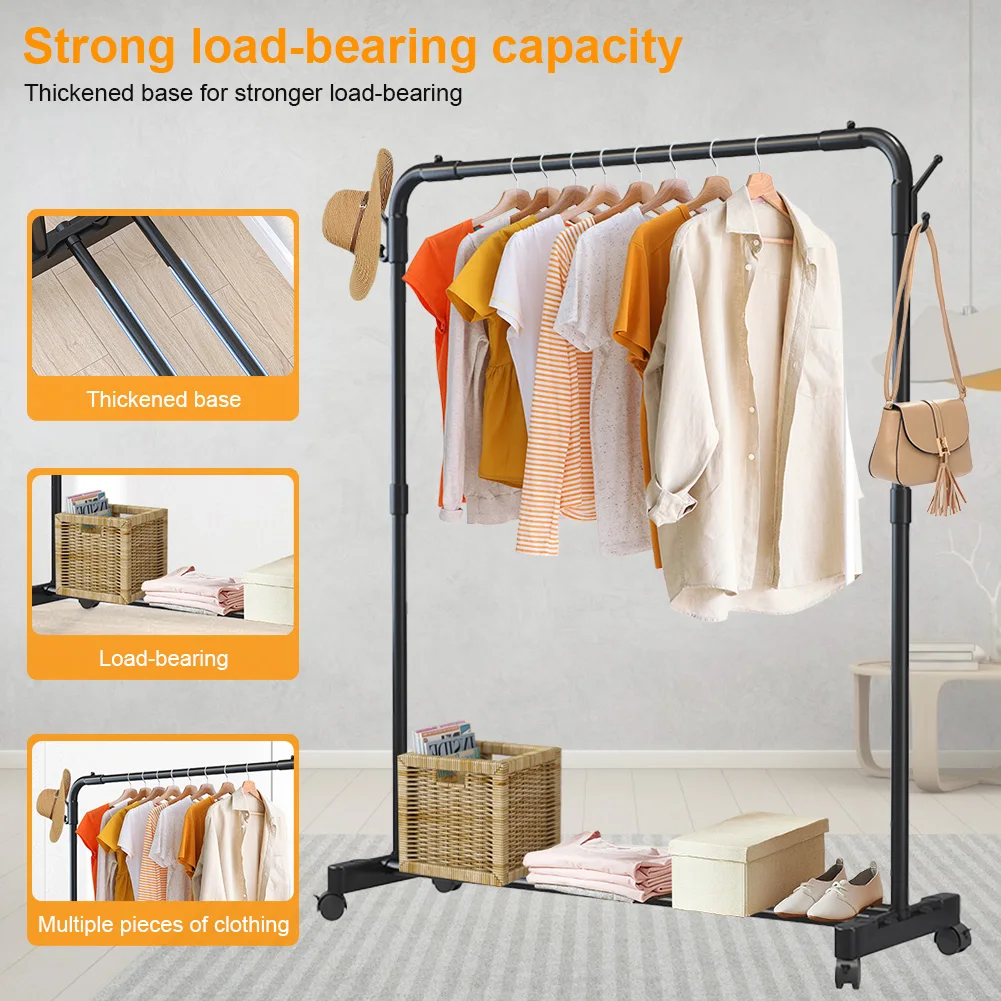
2.Strong Load Capacity: Featuring a reinforced base, this heavy duty clothes rail supports more weight, capable of holding multiple garments simultaneously without bending or breaking.
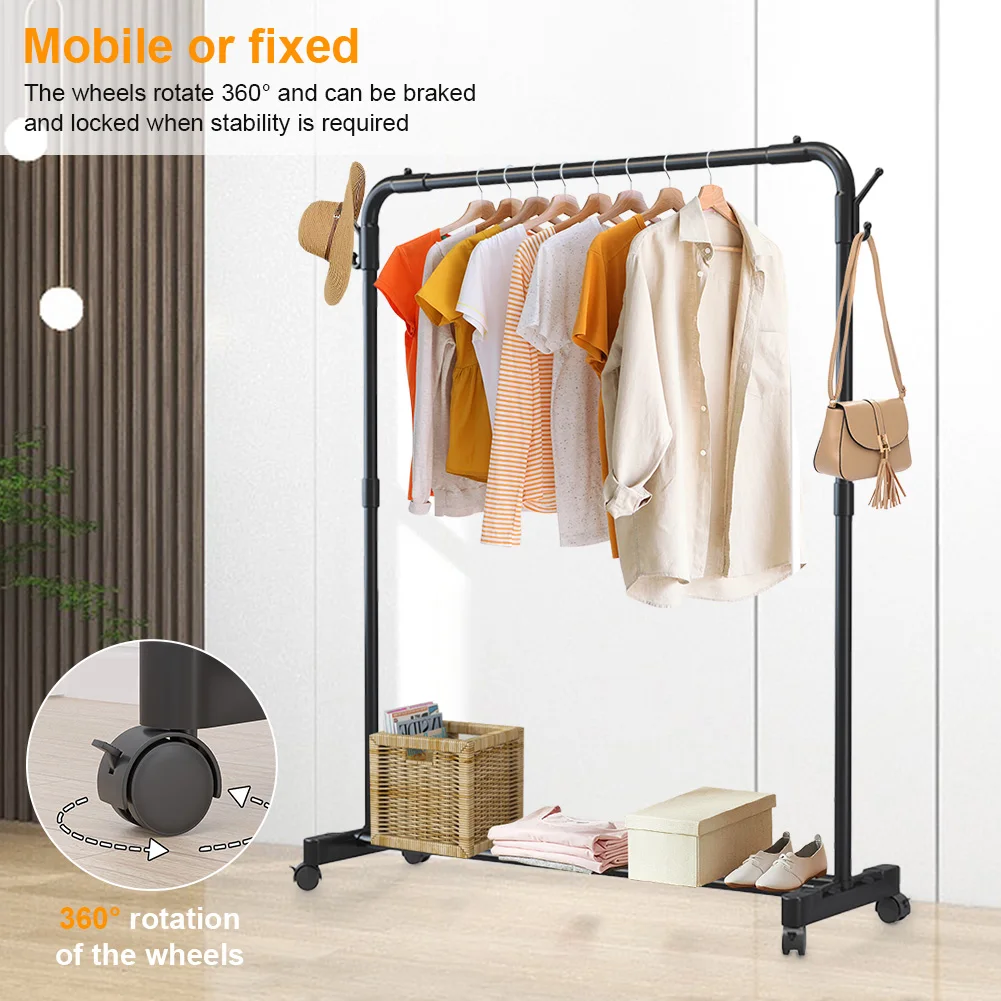
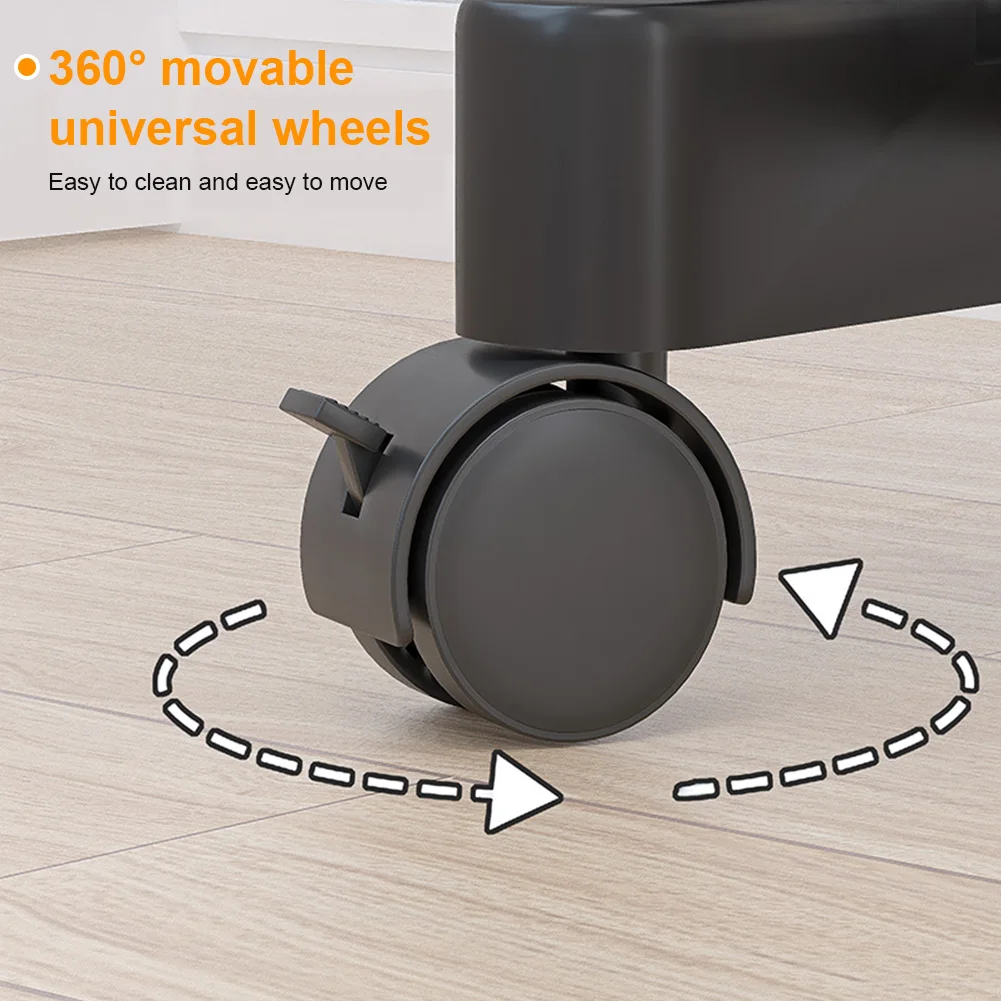
3.Movable or Fixed: The 360° rotating wheels allow the movable garment rail to be effortlessly pushed to any location. For stability, the wheels can be locked in place, ensuring safety when needed.
4.Versatile Use: The unique design of the portable wardrobe rack makes it suitable for various spaces, including walk-in closets, entryways, living rooms, bedrooms, balconies, and offices. It’s simple to use and minimizes errors.
5.Easy Installation: The garment rack display stand features straightforward installation with a lockable wheel design, facilitating easy movement; 4 universal casters (including 2 with brakes) for seamless transport from room to room and secure locking as needed.
Specification:
Origin: Mainland China
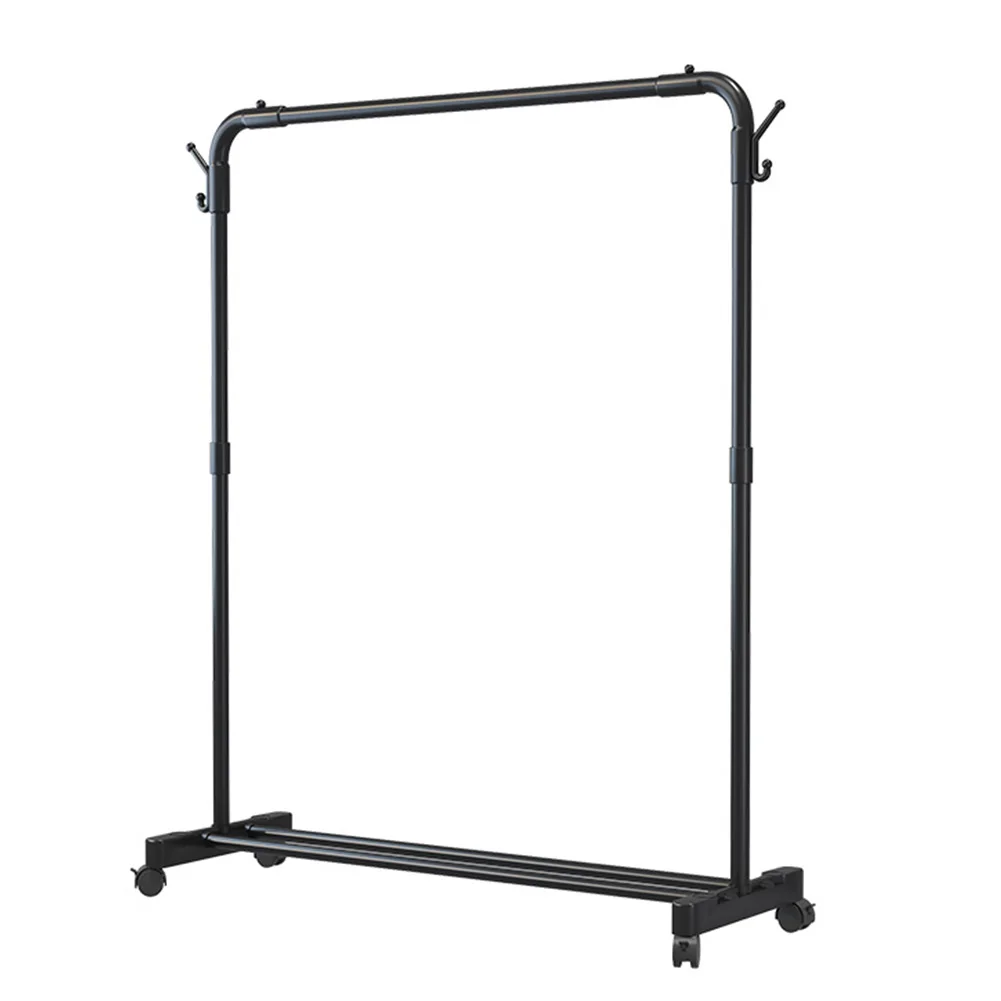
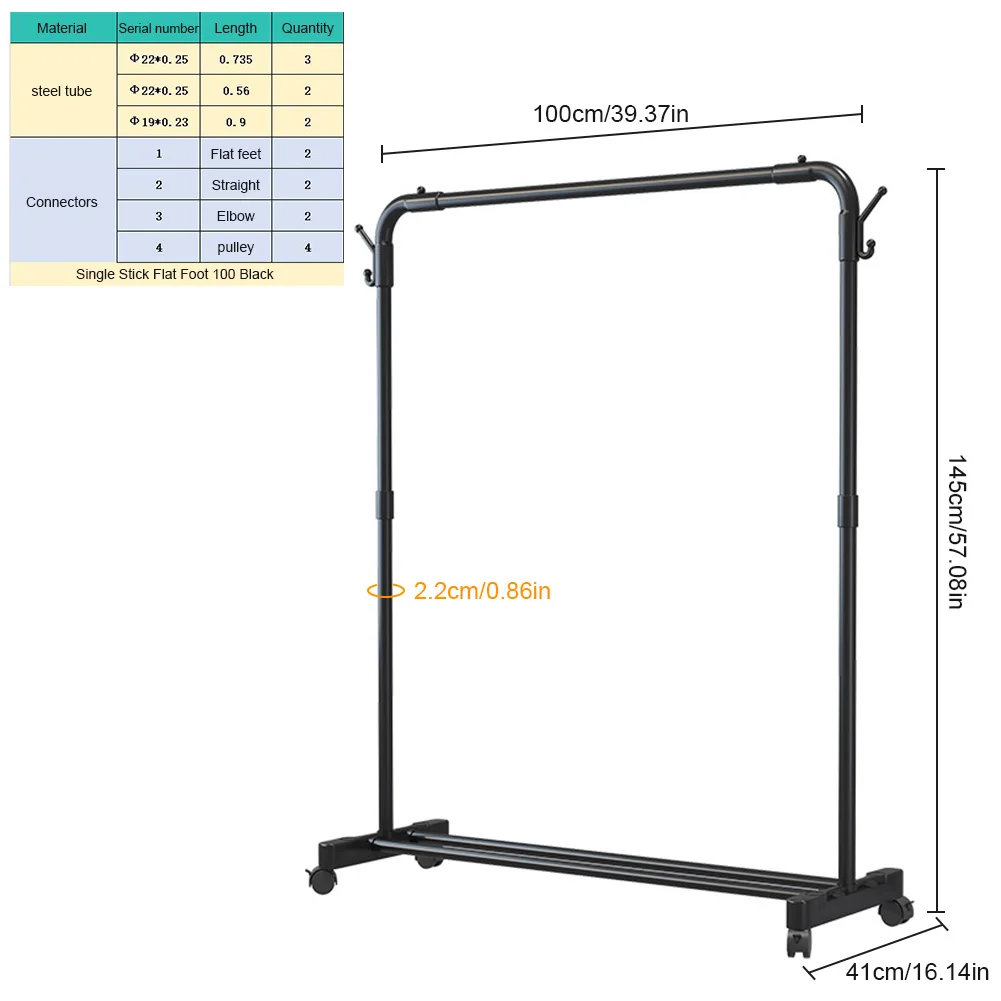
Product size: 41*100*145cm (width*length*height)
Diameter of drying rack: 2.2cm
Material: pp+sprayed plastic+iron+carbon steel
Single bar load-bearing capacity: 7.5kg/16.53lbs
Bottom weight: 10kg/22.05lbs
Installation steps
Step 1: Insert the bottom crossbar tightly into the base
Step 2: Insert the lower support rod tightly into the base
Step 3: Insert the connecting pipe tightly with the lower support rod (Note: Align the connecting pipe correctly before inserting the lower rod)
Step 4: Insert the upper support rod into the connecting pipe (Note: All accessories need to be firmly inserted during installation)
Step 5: Insert the hook into the hanging rod and tighten both sides
Step 6: Insert the hanging rod into the upper support rod and tighten it
Step 7: Install the pulley (Note: All accessories need to be firmly inserted during installation, especially when the long support rod is inserted into the base), otherwise the rack will tilt after installation
Note:
Due to different monitor settings and lighting conditions, the actual color of the item may vary slightly from the pictures. Thanks for your understanding!
Please allow a 1-2 cm difference in measurements due to manual measuring.


Reviews
There are no reviews yet.